Introduction: In the ever-evolving web development landscape, it's not uncommon for developers to venture into new territories. In this blog post, we'll follow the journey of a Node.js developer who decided to step out of their comfort zone and dive into the realm of Spring Boot. Let's explore the challenges, discoveries, and insights gained during this cross-stack adventure.
How to Start:
Prerequisites:
Java Knowledge: Ensure you have a good understanding of Java.
Code Editor: Use a code editor like IntelliJ IDEA or Visual Studio Code. I recommend IntelliJ for Java development.
Getting Started:
Spring Initializer:
Visit the Spring Initializer website.
Select your project settings (Group, Artifact, etc.).
Choose the project's packaging (usually JAR).
Select your preferred Java version.
Add dependencies like Spring Web, Spring Boot DevTools, etc.
Click on "Generate" to download a ZIP file.
Project Setup:
Extract the downloaded ZIP file to your preferred workspace.
Open your code editor (IntelliJ IDEA recommended).
Import the project by selecting the
pom.xmlfile.
Project Structure:

The project structure includes a
pom.xmlfile at the root.The
srcfolder containsmainandtestfolders.test: Holds test files. Useful for testing your code.main: Contains your main application code and resources.java: Java source code.resources: Configuration files, application properties, etc.
Pom.xml:
Open the
pom.xmlfile. This is where you manage dependencies.Add dependencies within the
<dependencies>tag. For example, to include Spring Boot Starter Web, add:<dependency> <groupId>org.springframework.boot</groupId> <artifactId>spring-boot-starter-web</artifactId> </dependency>
Exploring the Code:
Check out the
src/mainfolder:java: This is where your Java source code resides.resources: Configuration files and static resources.
Now you're all set to start coding your Spring Boot application! Feel free to explore the default-generated files and let's start building our API
API Architecture
In a typical Spring Boot application, the Controller, Service, and Repository layers are commonly used to achieve a clean and modular architecture.
Controller:
The Controller layer handles incoming HTTP requests and manages the flow of the application.
It is responsible for processing user input, invoking the business logic, and returning an appropriate response.
In Spring, controllers are annotated with
@RestControllerto indicate that they will handle HTTP requests and return the result directly as the response body.
Here's the HelloController to incorporate a Service:
package com.example.demo;
import org.springframework.beans.factory.annotation.Autowired;
import org.springframework.web.bind.annotation.GetMapping;
import org.springframework.web.bind.annotation.RestController;
@RestController
public class HelloController {
    private final HelloService helloService;
    @Autowired
    public HelloController(HelloService helloService) {
        this.helloService = helloService;
    }
    @GetMapping("/hello")
    public String sayHello() {
        return helloService.generateHelloMessage();
    }
}
Service:
The Service layer contains the business logic of your application.
It is responsible for handling the application's functionality, often interacting with data from a database or external services.
Services are annotated
@Serviceto indicate that they hold the business logic.
Now, let's create the HelloService:
package com.example.demo;
import org.springframework.stereotype.Service;
@Service
public class HelloService {
    public String generateHelloMessage() {
        return "Hello, World!";
    }
}
Explanation:
The
HelloServiceclass contains the methodgenerateHelloMessage(), which returns the "Hello, World!" message.The
HelloControllernow has a dependency onHelloService. It is injected through the constructor using@Autowired.When the
/helloan endpoint is accessed, the controller delegates the actual logic toHelloService, making the code more modular and following the separation of concerns principle.
Annotations
You may wonder what is @RestController, @Autowired and all texts with @, well those are called annotations.
Annotations are used to provide metadata about the application's components, helping the Spring framework understand how to manage and wire the different parts of your application. Here's an explanation of the annotations used in the example:
@RestController:Annotation at the class level.
Indicates that the class is a controller that handles HTTP requests.
It combines
@Controllerand@ResponseBody, meaning it automatically serializes the return value of methods into JSON or XML and directly returns it as the response body.
@GetMapping:Annotation at the method level.
Maps HTTP GET requests to a specific method.
Specifies the endpoint path ("/hello" in this case) for the method to handle.
@Service:Annotation at the class level.
Indicates that the class is a service, containing business logic.
Spring will automatically detect and register this class as a bean during component scanning.
@Autowired:Annotation used for automatic dependency injection.
Marks a constructor, field, or setter method to be autowired by Spring's dependency injection facilities.
In the example, it is used in the
HelloControllerconstructor to inject an instance ofHelloService.
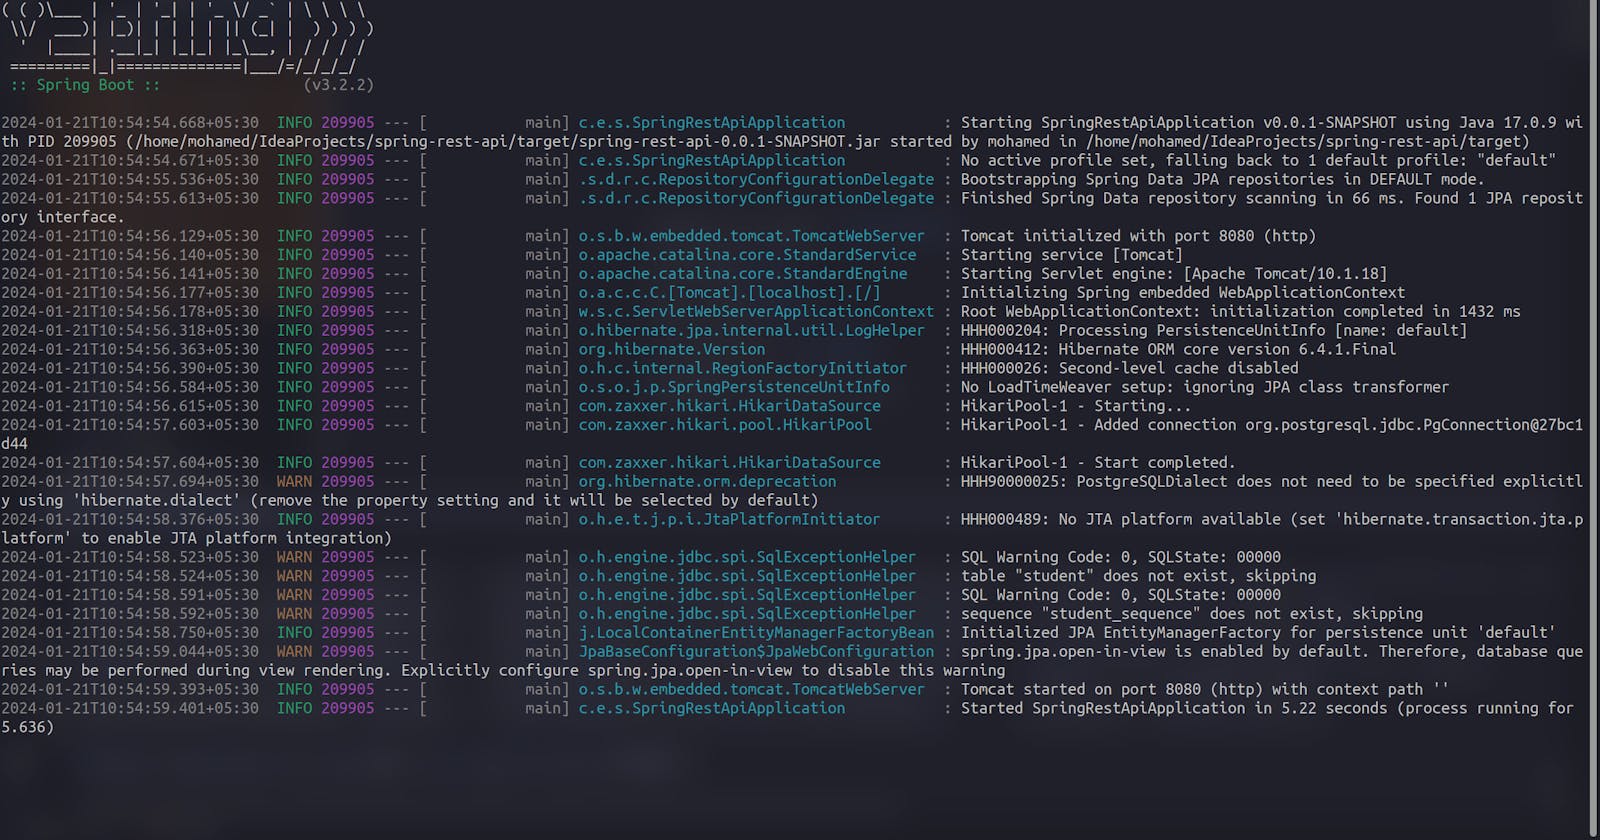
Run the Application:
- In your code editor, right-click on the main class (the one with
public static void main) and select "Run" to start your Spring Boot application.
- In your code editor, right-click on the main class (the one with
Test the API:
Open your web browser or a tool like Postman.
Navigate to
http://localhost:8080/hello(or the port your application is running on).You should see the message "Hello, World!" displayed.
Congratulations! You've just created your first Spring Boot API. Feel free to explore and build upon this foundation.
In conclusion, delving into Spring Boot has been an exhilarating journey, revealing its vast and powerful environment. The surprises and discoveries along the way have only deepened my appreciation for this robust framework. I'm genuinely excited about what lies ahead! Join me in Part 2, where we'll dive into the implementation of POST, PUT, and DELETE methods, seamlessly integrating them with a real database using JPA. Stay tuned for insights into deploying our application on the Internet. Until then, howdy and thank you for being part of this adventure!
